
7 Tips for Choosing a Transparent LED Display
A Transparent Led Display can add motion to a shopfront or glass lobby without fully blocking daylight. Its open structure allows people to see through the panel while content remains visible from the intended viewing area. That balance sounds simple, but actual performance depends on more than a product photo. Details matter.
Choosing the right display means matching it to the space, content, and viewing conditions. Measure the glass area and check how much sunlight reaches it throughout the day. Consider viewing distance, brightness, pixel pitch, transparency, and the weight your mounting structure can safely support. Ask suppliers for clear specifications, installation requirements, warranty terms, and examples from comparable projects. A display that looks crisp in a showroom may appear different behind reflective glass or in direct afternoon sun.
The seven tips in this guide focus on practical checks that help narrow the options before purchase. Request a demonstration with content similar to your own, and inspect it from both sides if visibility matters. Test it. Also consider maintenance access, cable routing, and how the display will fit around window frames. Some compromises may remain: greater transparency can affect image density, while brighter output may increase power needs. The best choice is not always the most impressive specification; it is the one that performs reliably in your actual setting.
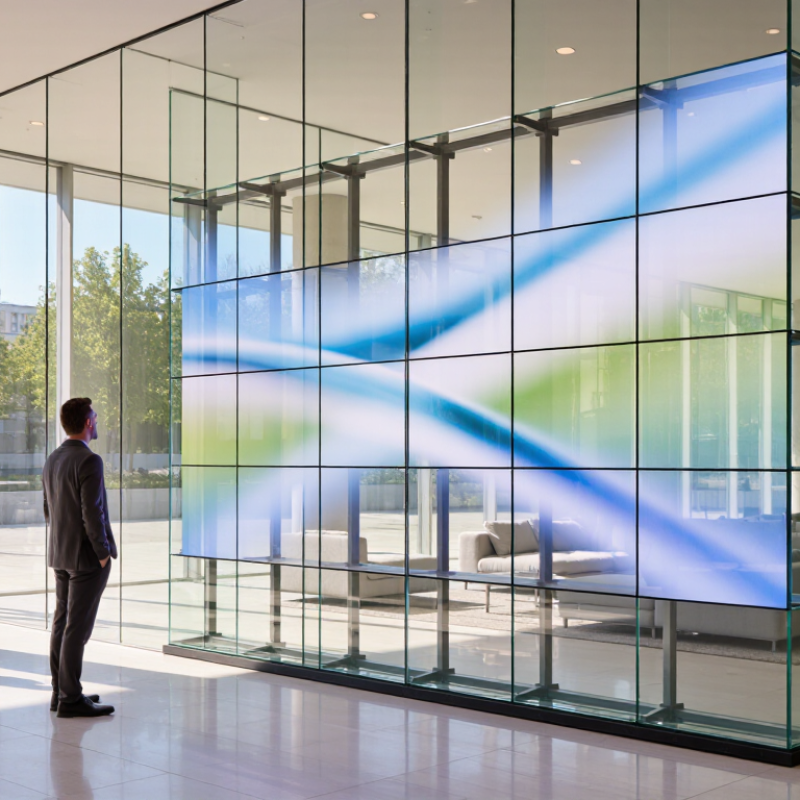
Understand How Transparent LED Displays Work
A transparent LED display forms images with small light-emitting diodes mounted in rows on a frame or clear support. The gaps between those rows allow viewers to see the space behind the screen. In a shop window, for example, people may see both the moving image and shelves inside. Light passes through. The display’s transparency depends partly on pixel spacing and how much open area remains between components.
An LED controller sends image data to the display, while power supplies drive the pixels. When a pixel lights up, it adds color and brightness; when it is off, the background can remain visible. Dark scenes may therefore look less solid than bright graphics. A useful reminder: transparency is not the same as invisibility. Reflections, cables, mounting frames, and daylight can all affect what people actually see.
Choosing a display means considering viewing distance, brightness, pixel pitch, and the window’s lighting conditions. Fine text may blur from across a wide lobby, while overly bright content can compete with the view outside. Ask to assess a sample at the intended distance and time of day. A specification sheet helps, but it cannot fully predict the feel of a real installation.
Match Pixel Pitch and Transparency to Viewing Needs
A transparent LED display must fit both the viewing distance and the amount of daylight passing through the glass. Pixel pitch describes the spacing between LED pixels. A tighter pitch can show finer text and detail when viewers stand nearby, but it may reduce transparency and increase cost. Distance matters. For a lobby viewed from several metres away, a very fine pitch may add little visible benefit. At a shop window, where people pause close to the glass, coarse pixels can make small lettering look rough.
Transparency is not a single number to judge in isolation. Ask how the display looks with the actual content, lighting, and glass in place. A bright street-facing window may need higher brightness, while a shaded interior may not. Check sample footage from the expected viewing angle, including thin text and moving images. It is tempting to choose the clearest-looking sample in a showroom; that shortcut can fail under direct sunlight. Also confirm whether the quoted transparency refers to the display module or the full installed surface. Check both. Specifications can vary by measurement method, and a small difference on paper may be hard to notice in practice. A site test is worth the extra time.
Evaluate Brightness for the Installation Environment
A transparent LED display should be bright enough to hold contrast against its background, not simply look vivid in a showroom.
Measure ambient illuminance at the intended viewing position during different conditions: morning sun, midday glare, and evening lighting can produce very different results. The IES Lighting Handbook places many office task areas in the 300–500 lux range, though the appropriate level depends on the work.
Lux measures light falling on a surface; display brightness is measured in nits, or cd/m². They are related, but not interchangeable.
Test at noon. Place the display in front of the actual glass, signage, or merchandise, then view it from the usual distance and angle. A bright window behind the screen may need more luminance than a shaded indoor wall, while tinted glazing can change both brightness and color.
Raise brightness gradually and check whether text stays legible without obscuring what sits behind the panel. Also compare the image after several minutes: excess brightness can add heat and power use, and it may distract nearby occupants.
A neat lux reading can still miss reflections from a polished floor or passing headlights. Record those awkward conditions too. Small differences matter.
Check Structural Requirements and Mounting Options
A transparent LED display may look lightweight, but its support system must carry more than the visible panels. Check the display’s total weight, frame dimensions, cable routes, and any service access requirements. Ask the supplier for verified load data, then have a qualified structural professional assess the wall, ceiling, or supporting frame. Glass façades and older walls can behave differently from drawings.
Mounting options affect both safety and appearance. A ceiling suspension can preserve floor space, but it needs secure anchor points and careful control of sway. Wall brackets may suit a solid surface, while a freestanding frame can help when the building structure cannot be altered. Leave room for ventilation and maintenance. A few centimetres matter. Plan where power and signal cables enter, too; exposed loops can spoil a clean installation.
Measure the site before ordering, and compare those measurements with the actual mounting hardware—not just the screen outline. Check clearances around doors, sprinklers, and nearby fixtures. On site, small obstructions are easy to miss, and plans are not always perfect. If the structure or load path remains uncertain, pause the installation and request a revised assessment. That delay is inconvenient, but guessing is worse.
Compare Control Systems, Maintenance, and Total Cost
A transparent LED display can look light and simple, yet its control system shapes daily operating costs. Compare processors and control software for scheduling, remote diagnostics, brightness adjustment, and recovery after signal loss. Ask for a live demonstration: unplug a signal cable and check how quickly the system flags the fault. Small details matter.
Maintenance access affects labor and downtime. Check whether technicians can reach modules from the front or rear, and whether replacement parts remain available. Uptime Institute’s 2024 Annual Outage Analysis found that 54% of respondents’ most recent significant outages cost more than $100,000. That figure describes data-center outages, not display projects, but it shows why recovery planning deserves a line in the budget. Request written service response times and a clear spare-module plan.
Estimate total cost over the expected service period, not just the purchase price. Include electricity, control hardware, software fees, cleaning, labor, spare parts, and any access equipment. The U.S. Department of Energy’s 2019 solid-state lighting forecast projected 569 terawatt-hours of annual energy savings by 2035 from LED general lighting; that is not a transparent-display estimate. Measure the proposed display’s actual power draw at typical brightness and operating hours. A spreadsheet can still miss something: site access and repair windows often change the real cost.
7 Tips for Choosing a Transparent LED Display
Compare control systems, maintenance, and total cost over three years
How to read this chart: For a representative 10 m² indoor transparent LED installation, compare controller and software costs, commissioning, and three years of maintenance. Estimated totals are $3,900 for a basic setup, $6,500 for a standard setup, and $10,900 for a redundant setup.
Illustrative planning estimates in USD, not supplier quotes. Actual costs vary with display size, pixel pitch, control requirements, access conditions, and local service rates. When comparing options, confirm spare-part availability, remote monitoring, warranty coverage, and maintenance response times.